 |
|
|
|
|
|
|
|
***UPDATE OCTOBER 2012: Ambient Pressure Diving has launched CE tested
Back mounted counterlungs at EUROTEK 2012***
|
|
|
Paul Channing's Inspiration with back-mounted Lungs
Author: Paul Channing
Published: 20-02-2006
|
-
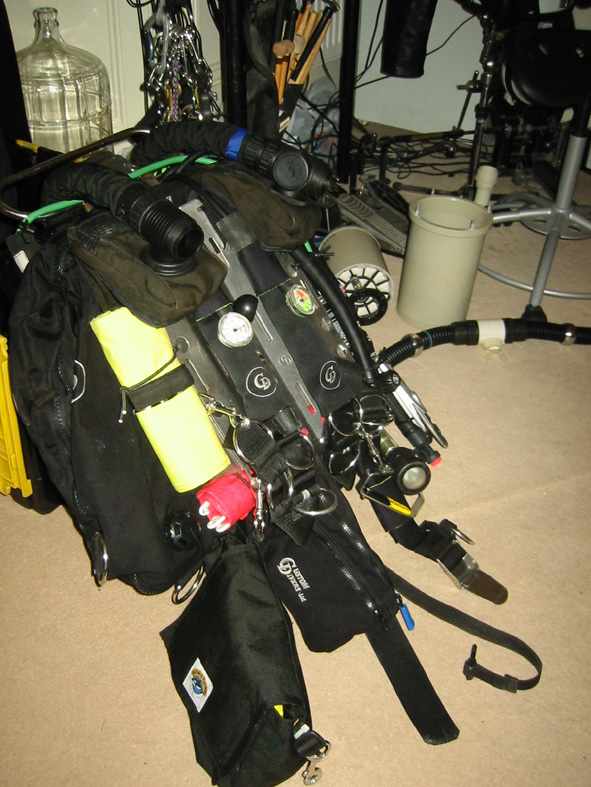
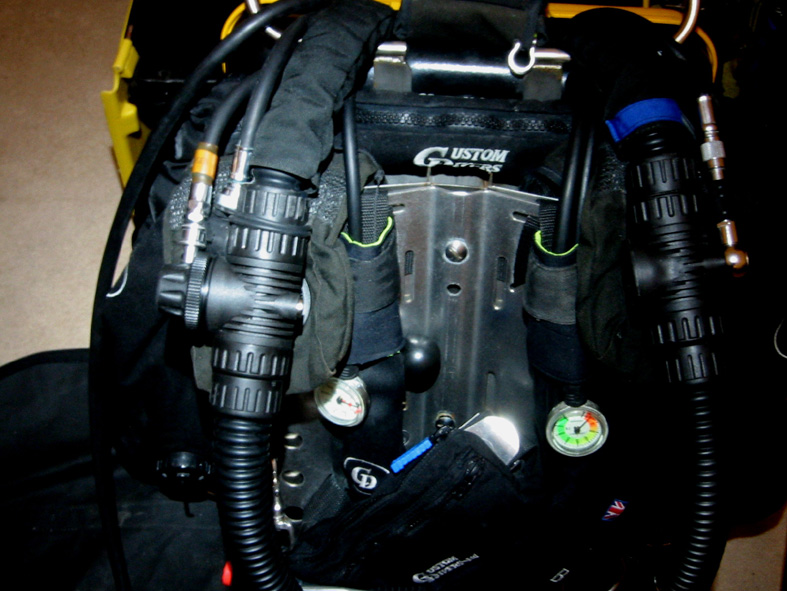
Pictures say a thousand words, so I’ll keep it brief. I designed and
fabricated a stainless steel box that sits snugly between
the box/ wing and the back plate:
|
 |
| |
 |
| |
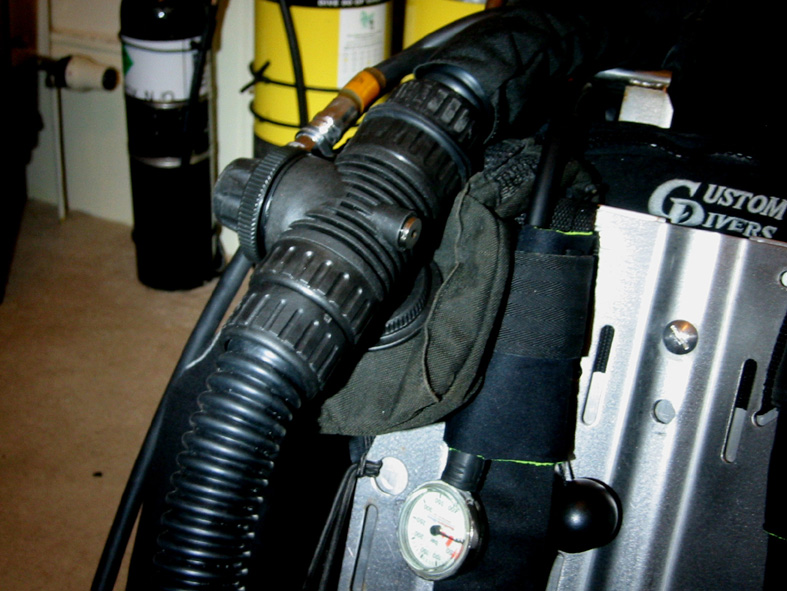
- The
unit sits 50mm back from its original position. The s.s. box provides a
useful means for stowing various bits and pieces out of the way:
|
| |
 |
| |
This shows a suit inflate bottle (just), snorkel (don’t ask), a big spidge
bag and an emergency blob all tucked away and readily accessible. This
works for me as I have found that when gas-diving, the quantity of ‘things’
I like to carry can breach a critical point – now I don’t look like a
Christmas tree..!!
Excuse the rubbish in the background btw.
|
| |
 |
| |
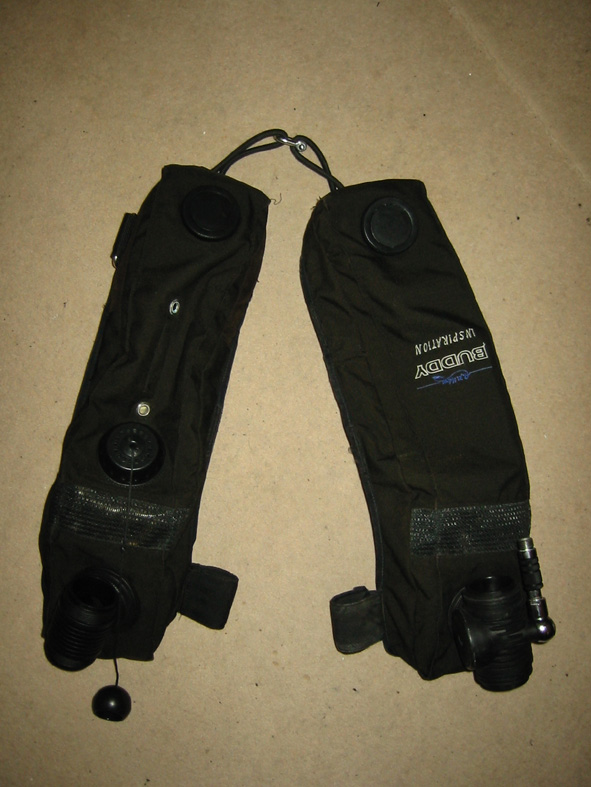
-
Standard Inspiration lungs are used for both ease and to keep the cost
down, albeit with a few bits removed:
|
| |
 |
| |
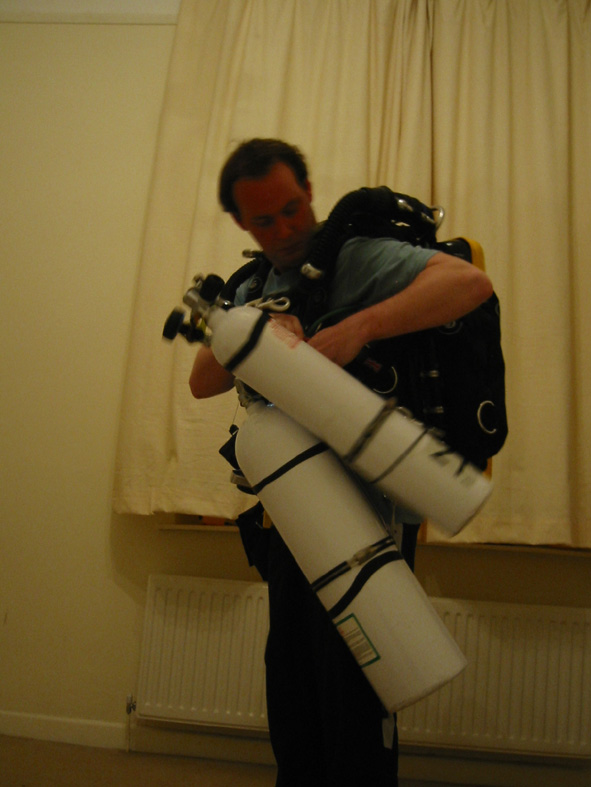
-
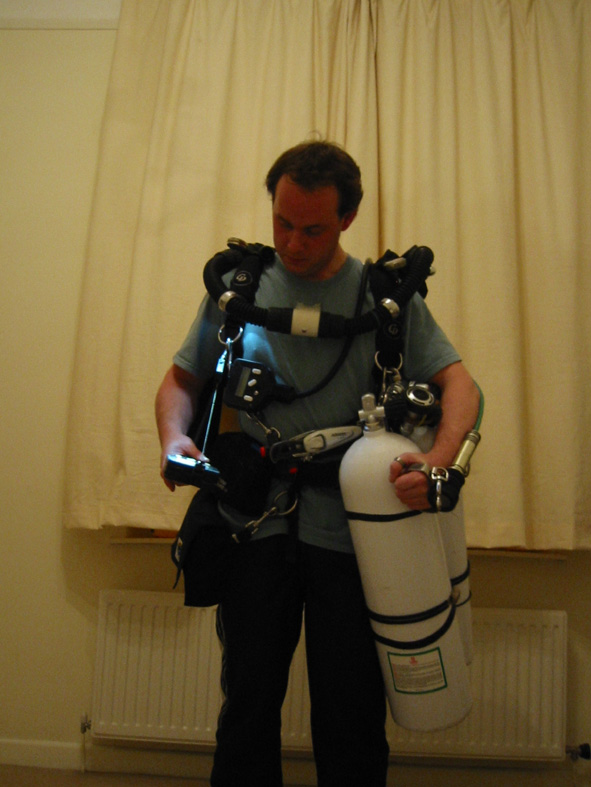
Now for some pictures of me looking silly, diving at 1 atmosphere ;-)
|
| |
 |
| |
-
How it sits to my right:
|
| |
 |
| |
-
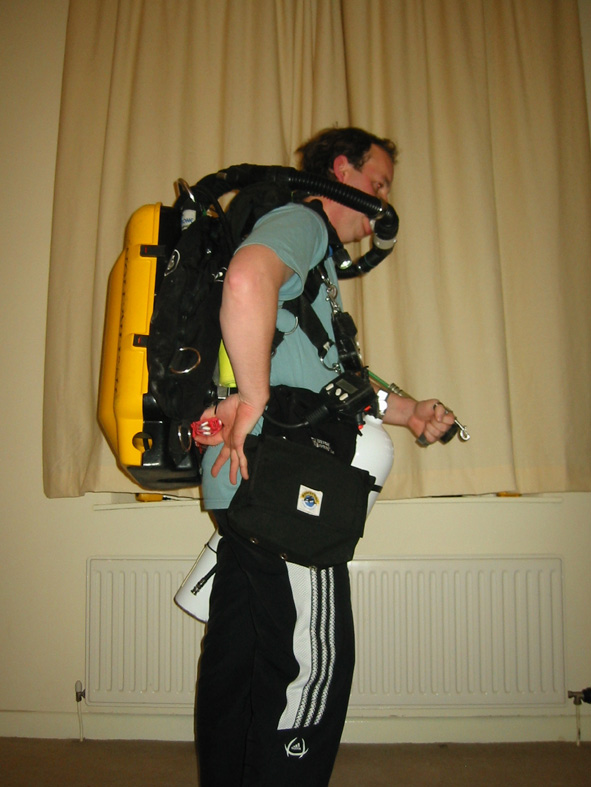
How it sits to my left:
|
| |
 |
| |
-
Putting stages on is very simple as I can see what I’m doing:
|
| |
 |
| |
-
For the extra bits and pieces that I need for gas diving, a Joey Pouch,
clips from the bottom of the backplate to the waist-ring. All my
equipment goes on the right, gas to the left and a Q40 shines directly
over the handsets to the right – just like good old OC
J
|
| |
 |
| |
-
As I’m right handed – all the gear is accessed with the right hand. The
left stays with the torch and reel – making easier work of the task
loading on descent/ ascent – i.e. no need to swap hands to get to kit.
You can see how the box doesn’t dig-in to my arse at the base:
|
| |
 |
| |
-
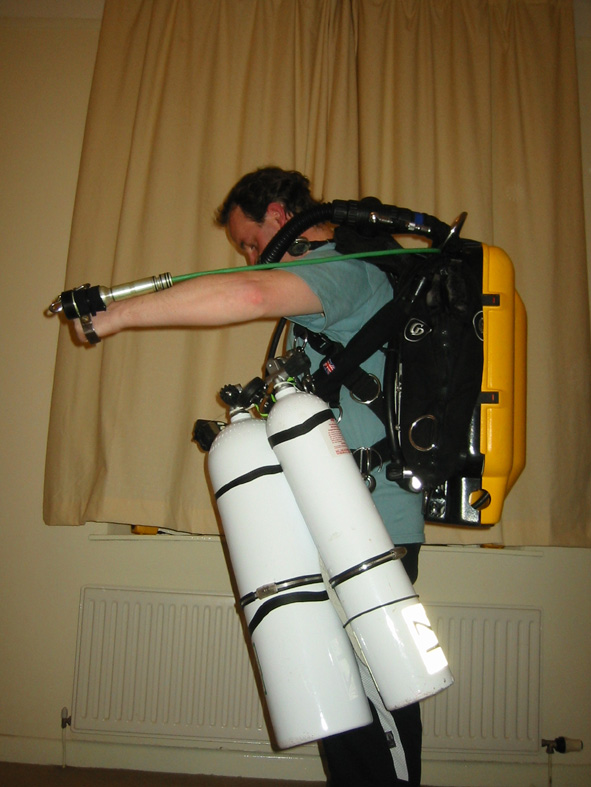
A view from the left shows the profile of the lungs:
|
| |
 |
| |
-
Valves are accessed without any noticeable difference:
|
| |
 |
| |
-
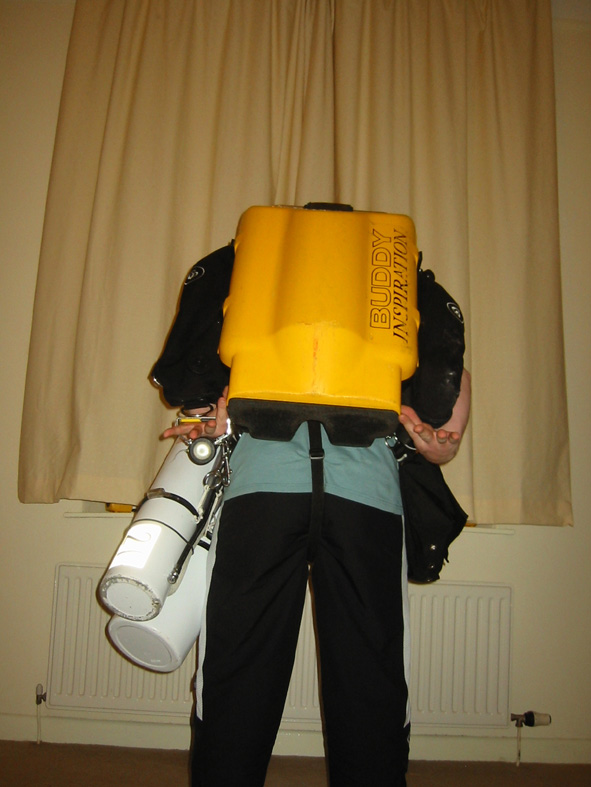
Short of a slave, maintenance doesn’t get much easier than this: :o)
|
| |
-

|
| |
| |
-
No manual o2..??
- In
the above photos there was no way of manually adding o2, however this
has now been remedied:
|
| |
 |
| |
-
I considered various designs and believe this one to be the most simple,
elegant and cost effective. The buzzer tucks-in nicely behind too.
|
| |
 |
| |
-
The design uses standard APD fittings throughout, making replacement
straightforward. I have added a water-trap to the ADV T-Piece and had a
‘converter’ made to marry the o2 add to the T-Piece. The only physical
change to the T-Piece was to plug the hole:
|
| |
 |
| |
-
-
Detail and thoughts:
-
-
-
Diluent flushes can be facilitated via pressing the
ADV diaphragm.
-
-
-
The lungs remain effective water traps.
-
-
-
WOB is, as far as I can tell, no different, but this
may be because of the profile of the lungs and the
fact that we breathe ‘off the top’ of them - I don’t
dive on my back so I haven’t had ‘hamster cheeks’
-
-
-
The position of the lungs has done two things:
-
-
- The T-pieces are further apart – before I
always felt quite encumbered and wrapped-up, but now I
feel I have much more freedom – not so tight or
restrained. However, the lungs can be threaded over the
harness if desired and returned to their original
position.
-
- The position of the lungs
seem to put me in the water much like a wing i.e.
horizontal, this is in spite of running minimum loop
volume.
-
-
-
The dump valve toggle is extended to sit over the
shoulder and actually dumps better when horizontal
due to its upward facing position.
-
-
-
The lungs are, to an extent, protected, certainly
more so than before.
-
-
-
Maintenance is an absolute joy.
-
-
-
The s.s box creates a relief at the base, so the
unit no longer digs into my arse - no more lower
back ache on long dives!
-
-
-
Kit can be stowed more effectively, making better
use of that little more space.
-
-
-
Kitting up and putting stages on is greatly
improved.
-
-
-
The backplate and harness can be removed
independently of the s.s box and transferred to OC -
much like the KISS (not that I would of course ;o)
-
-
-
The pressure gauges are a typical scuba length
(whatever that is) and are there for the convenience
of pre-dive checks – otherwise I’d use button
gauges.
-
-
-
It seems just like OC diving - an unencumbered clear
chest with good access to what I want. However, I can’t
crush the lungs anymore for diluent or o2 flushes, but
it works quickly enough nonetheless, and hey, gas is
cheap right! ;o)
-
-
Please feel free to ask any questions or contact for
package details:
-
-
paul@deepseascape.co.uk
-
-
Regards
-
Paul Channing
-
|
| Paul thanks for contributing to my
website! |
| |
| |
| ***UPDATE OCTOBER 2012: Ambient Pressure Diving has launched CE tested
Back mounted counterlungs at EUROTEK 2012***
|
| |
|
|