 |
| |
|
|
| |
 |
| After missing a proper Auto Diluent
Valve for several years, I finally collected the money to buy the new
Ambient Pressure Diving original ADV. Here you find some pictures how to fix
this valve to your rebreather. |
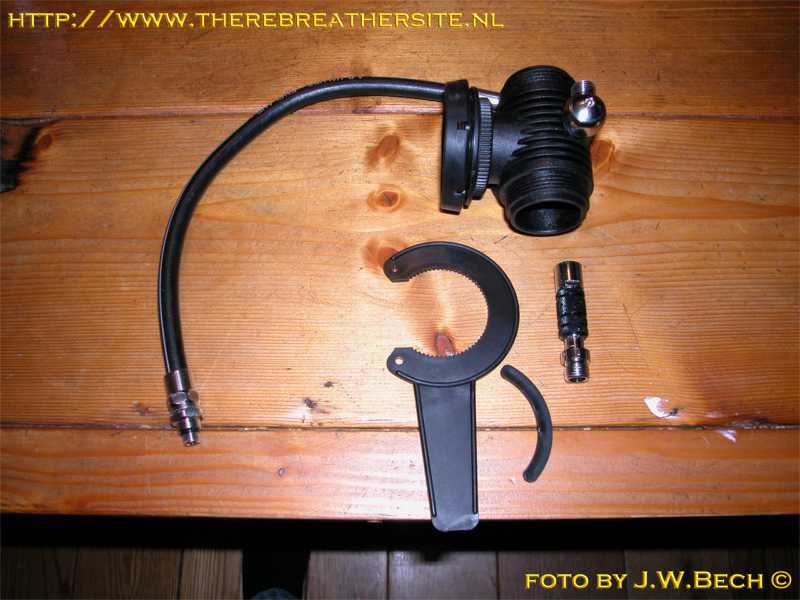 |
| This is how the set was delivered. The
shut-off valve is additional to the ADV |
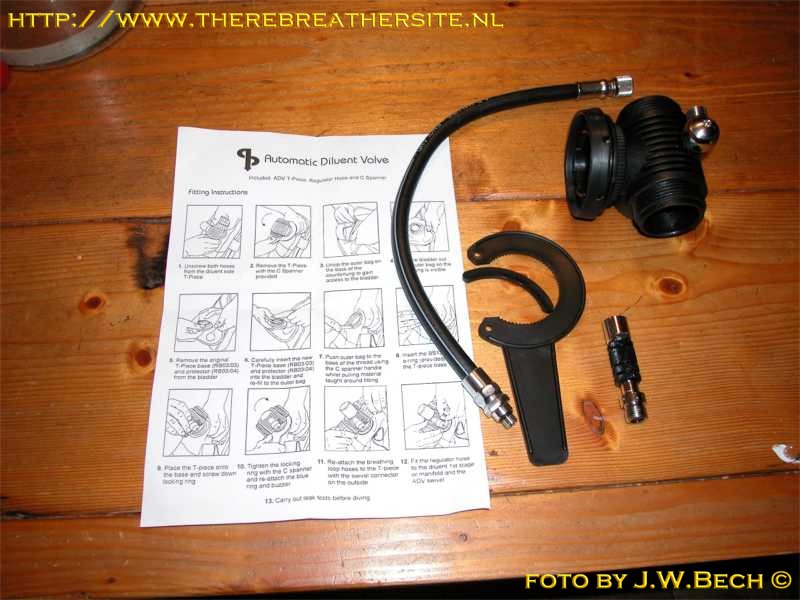 |
| Instructions are provided with the valve! |
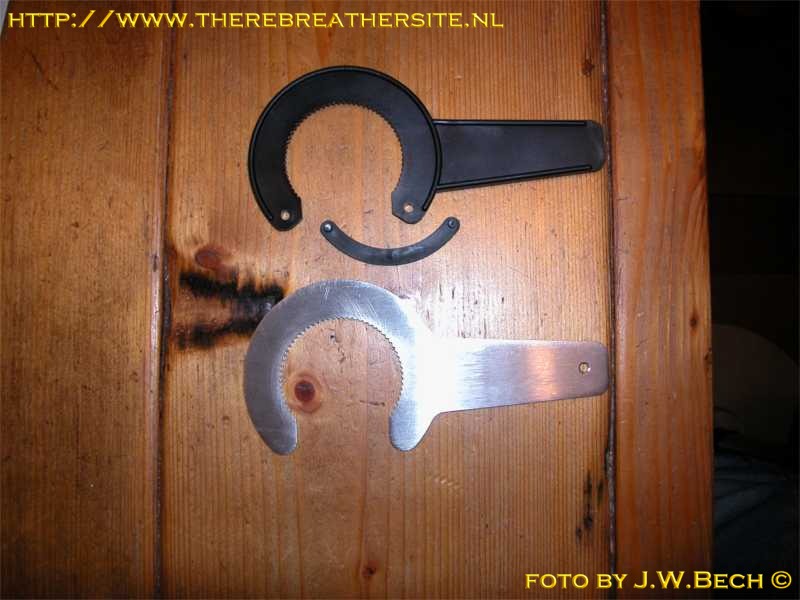 |
| The standard T-piece spanner is a simple
tool, not very effective. You can buy a professional spanner in Belgium
offered by Paul Lijnen IANTD Benelux |
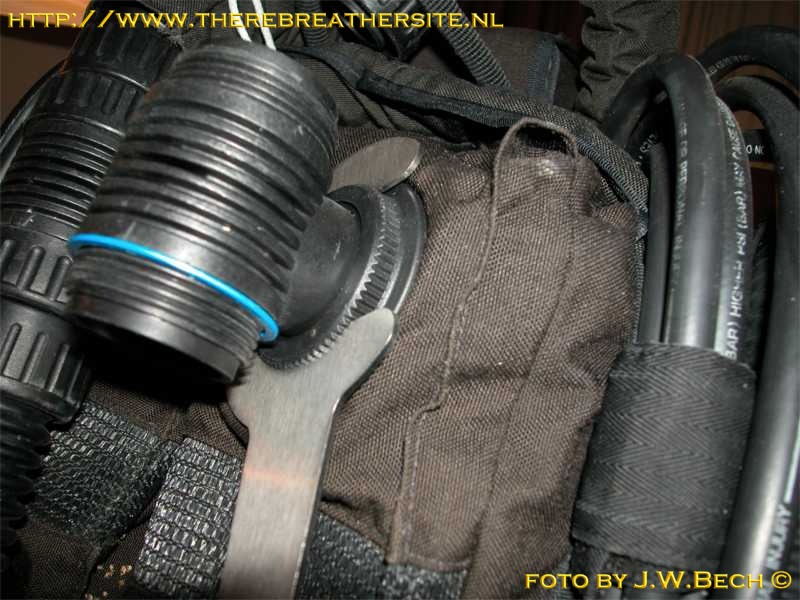 |
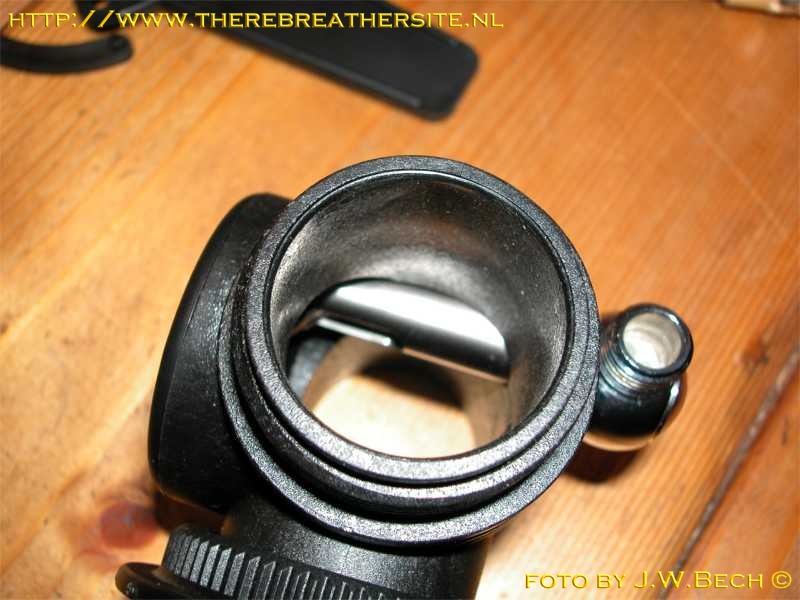
| The spanner fits the T-pieve perfect |
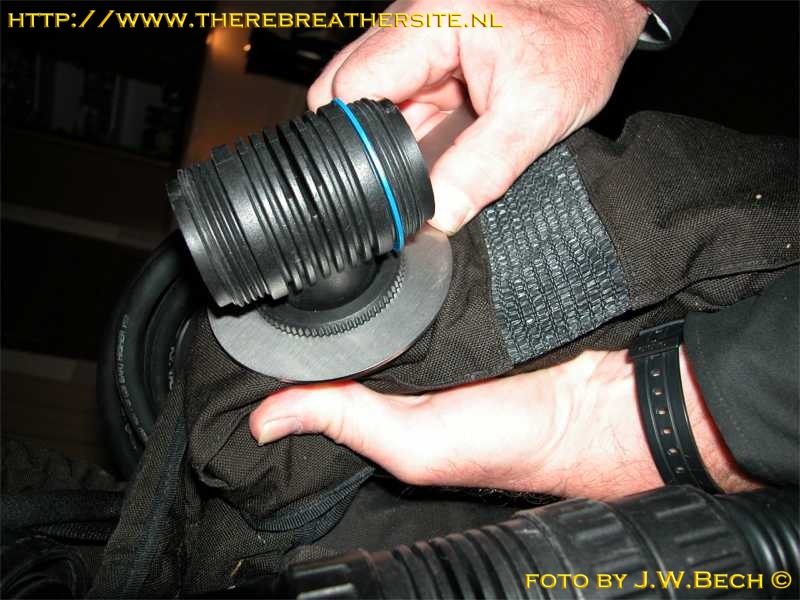 |
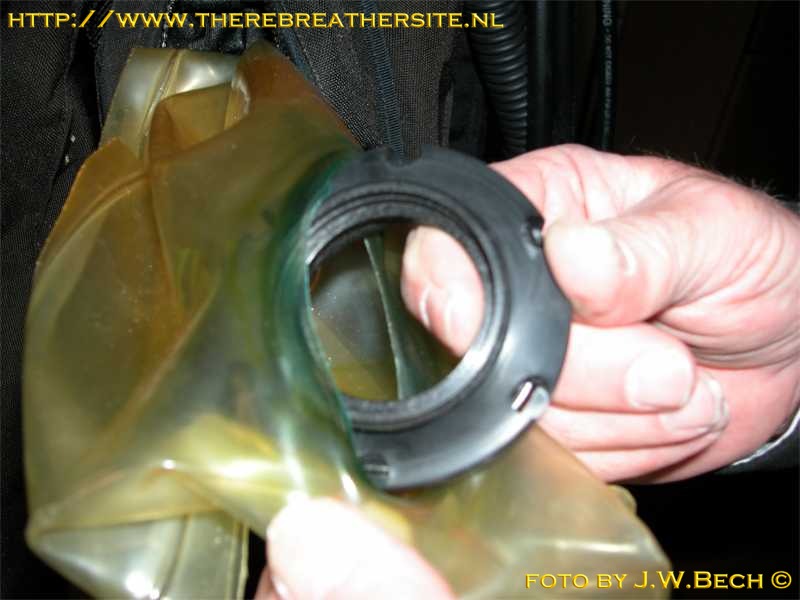
| Hold the ring inside the CL and release the
connector |
 |
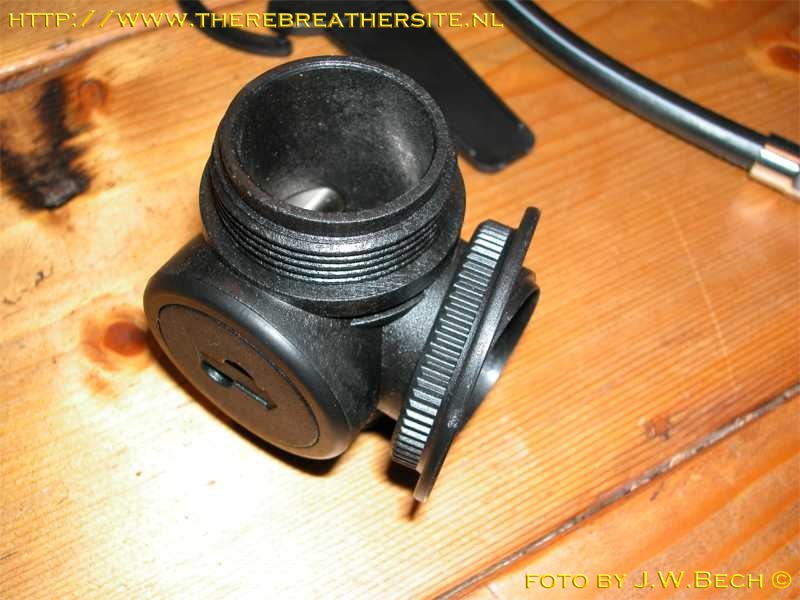
| You can now take the T-piece off and sand
from all over the world is released ;) |
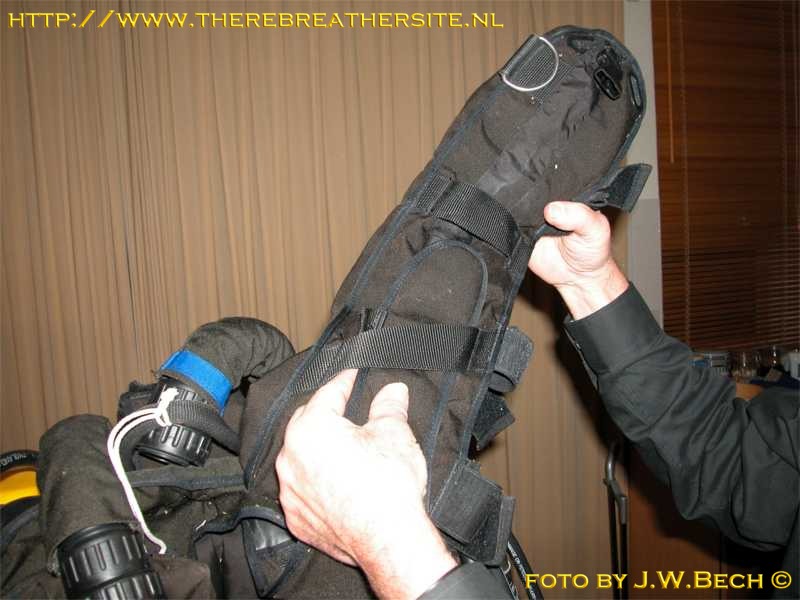 |
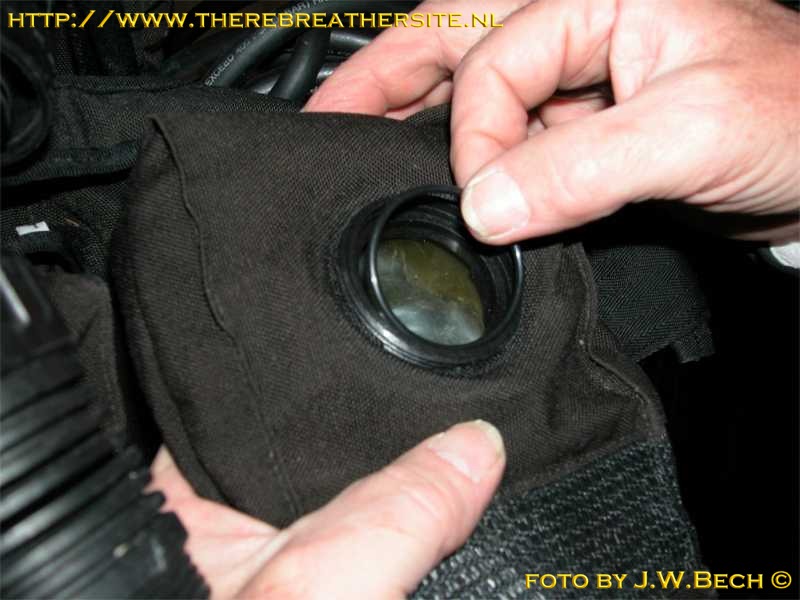
| Unclip the counter lung and open the
counterlung |
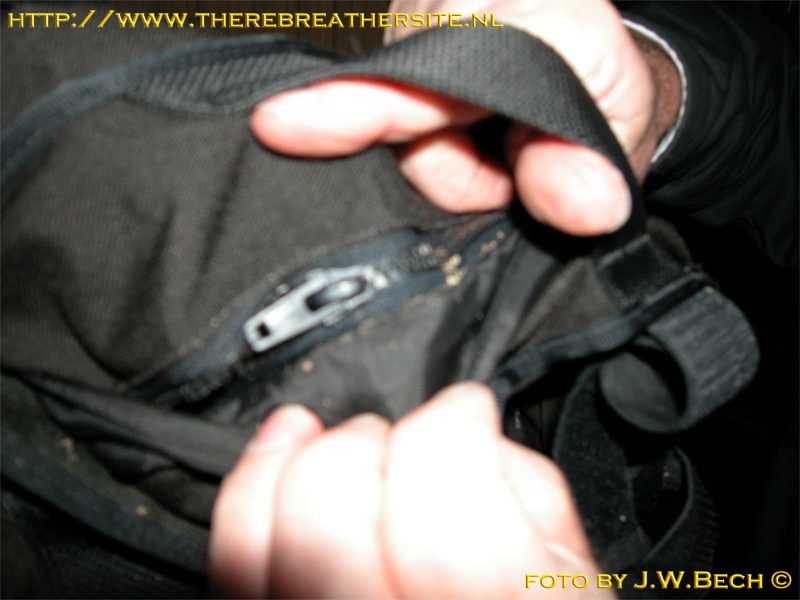 |
| Find the zipper and take the counterlung
out. |
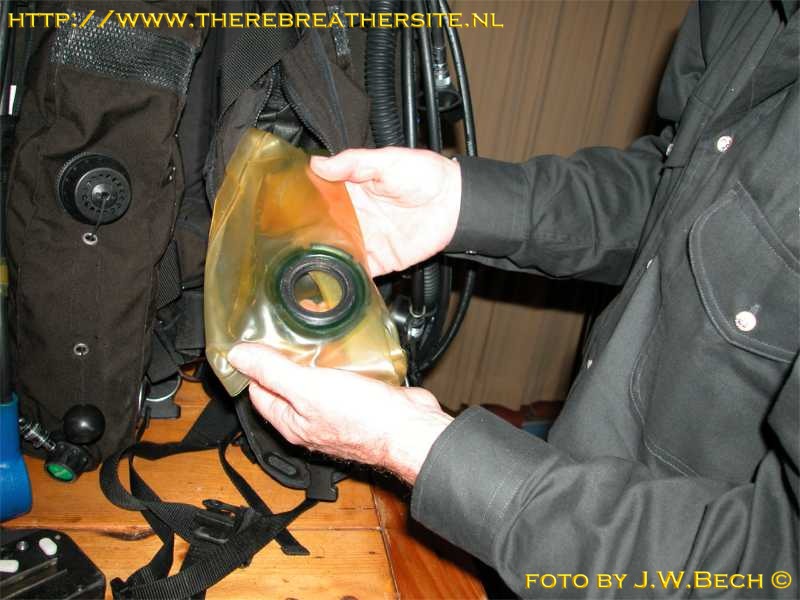 |
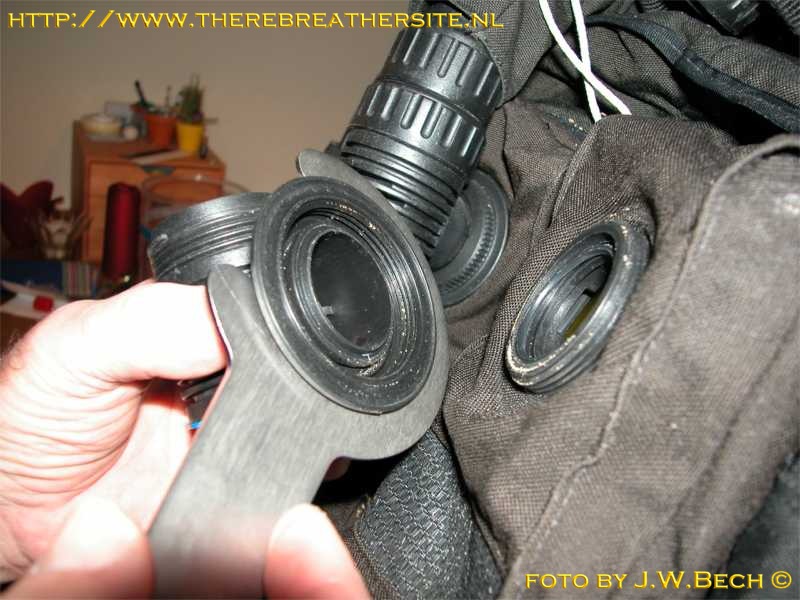
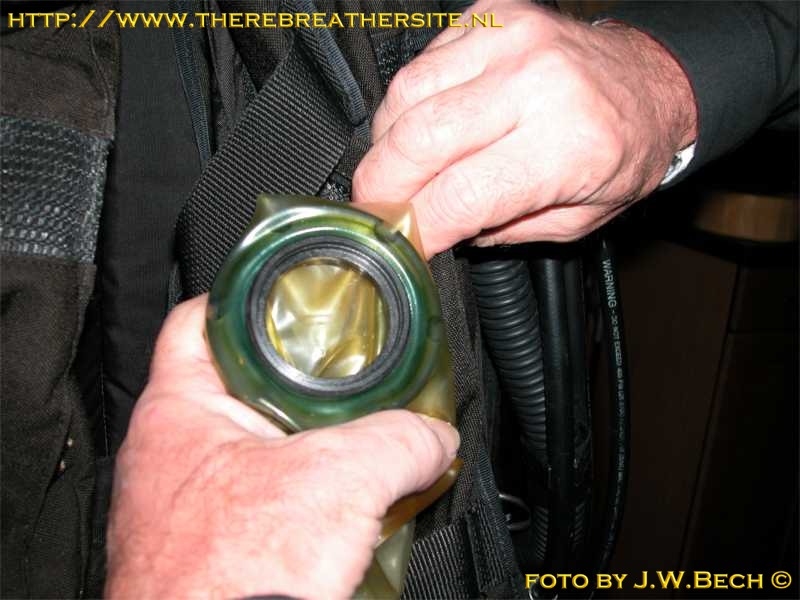
| You can remove the counter ring now |
 |
| The area that was clamped between the rings
need to be thoroughly cleaned. |
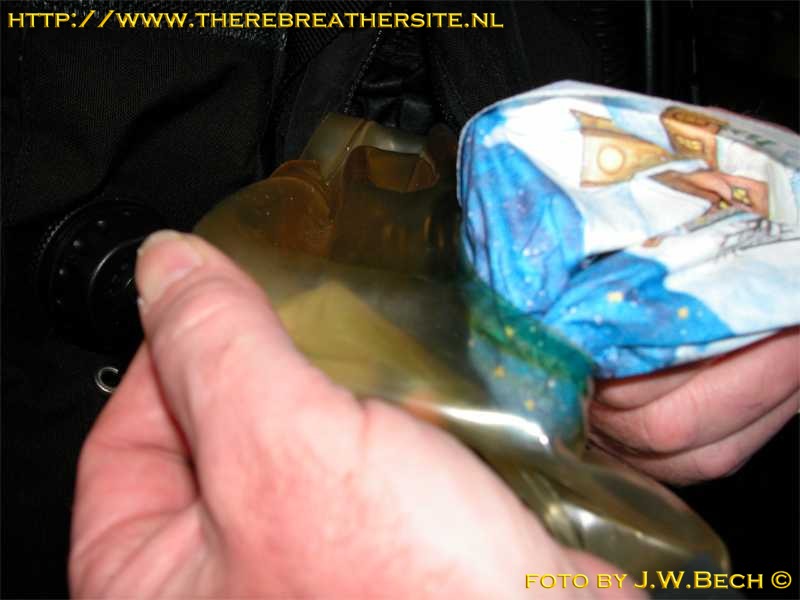 |
| I used up my old Christmas serviettes with a
special solvent that is oxygen compatible called Biox, to clean this area. |
 |
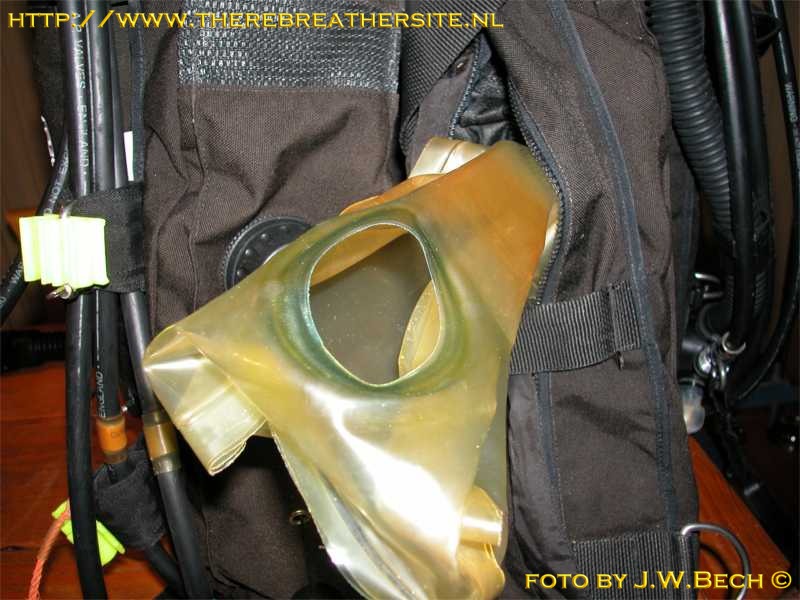
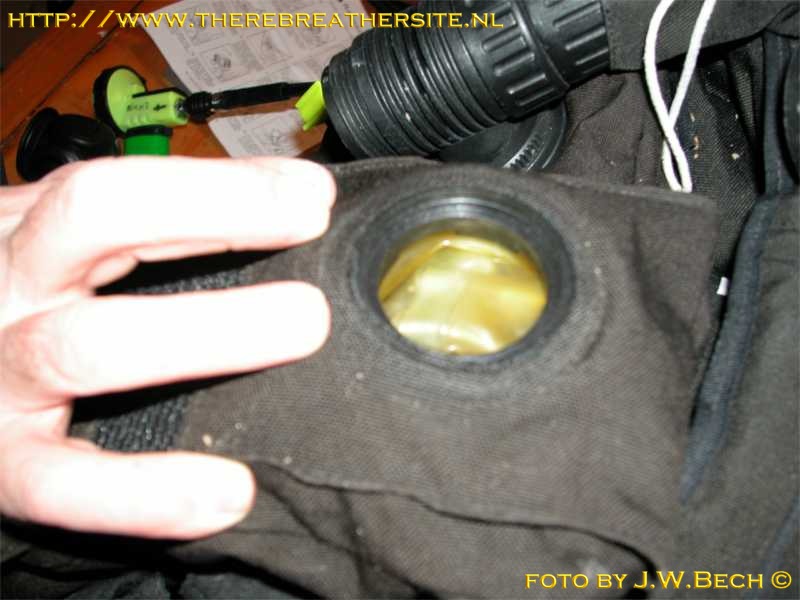
| Push the counter ring in the lung |
 |
| and center the ring in the lung |
 |
| Now push back the inner counterlung in the
outer counterlung and push the ring through the fabric |
 |
| Here you can see the addition mechanism and
lever |
 |
| Diluent supply by a swivelling connector. |
 |
| When you order an ADV tell APD if you own a
old or new style rebreather. The older models have the same hose connector
on inhale and exhale side. That has been changed for the newer models. |
 |
| Don't forget to place the O-ring, and put
some grease on it. I use only oxygen compatible grease although this could
be argued with. |
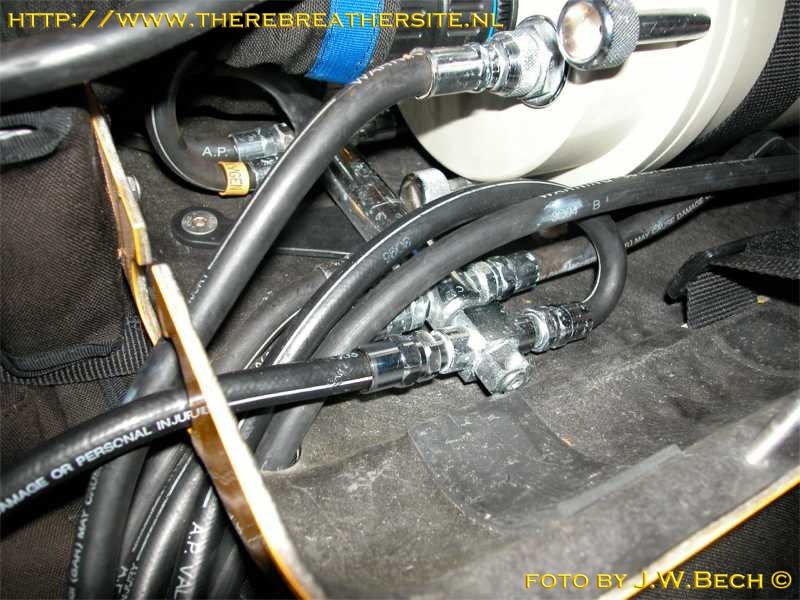 |
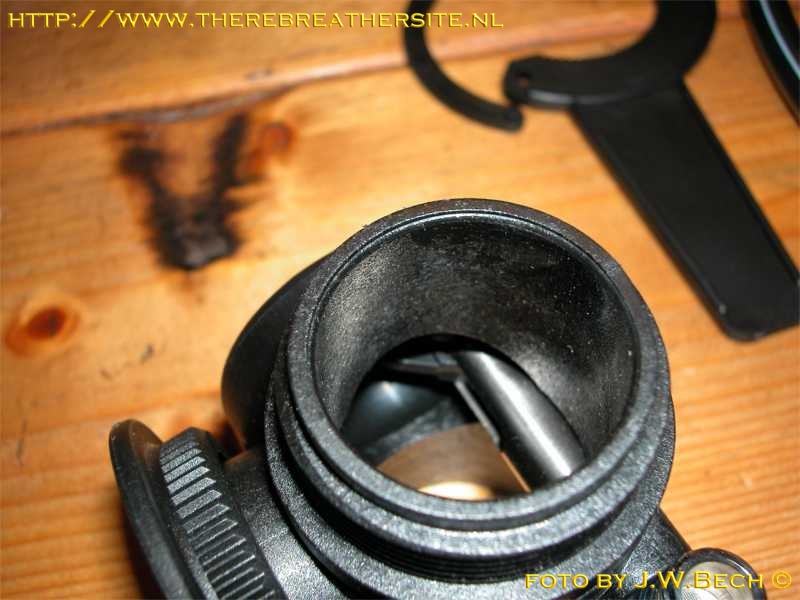
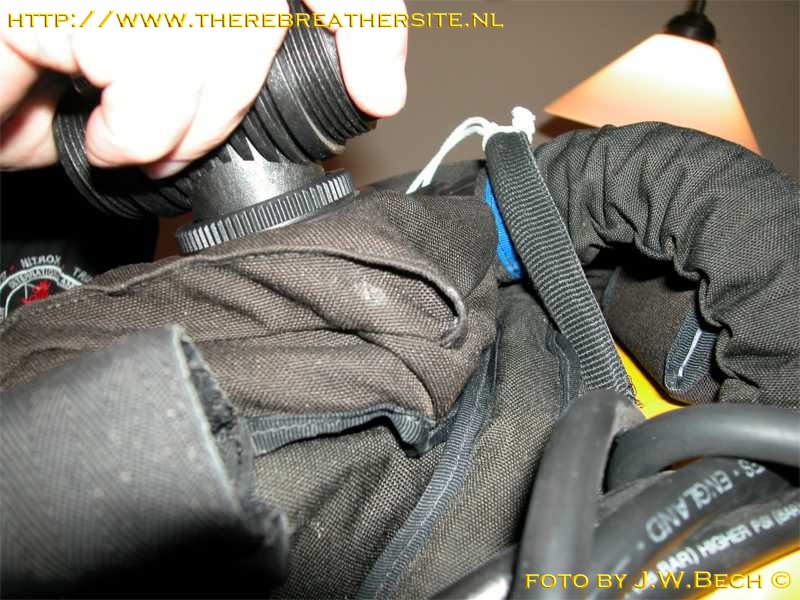
| Connect the IP hose of the ADV to the
distribution bar. |
 |
| Then screw the ADV on the counterlung |
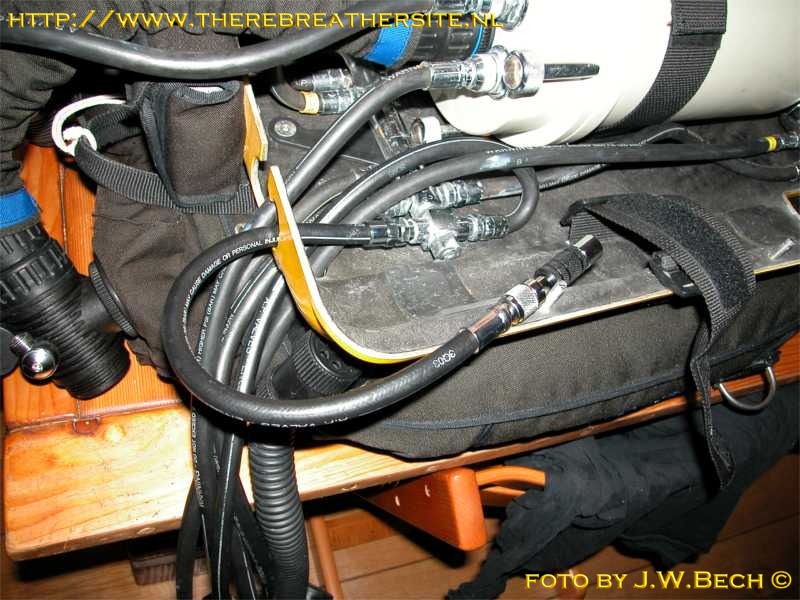 |
| The connection between the IP hose and the
shut-off valve is a O-ring connection and made without tools. |
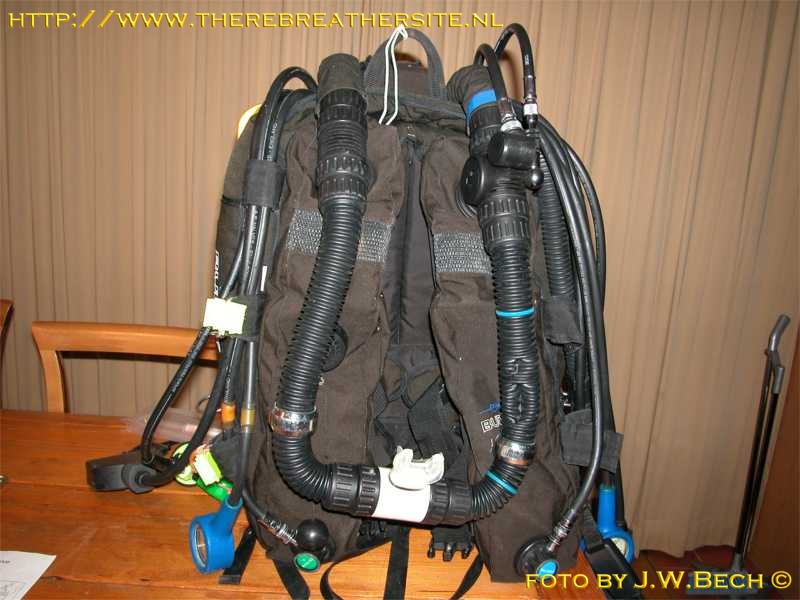 |
| Test the rebreather with the proper
procedure for under pressure. |
 |
| Mound the Audio alarm, and the job is done. |
|
|