 |
|||||||
|
|
|||||||
|
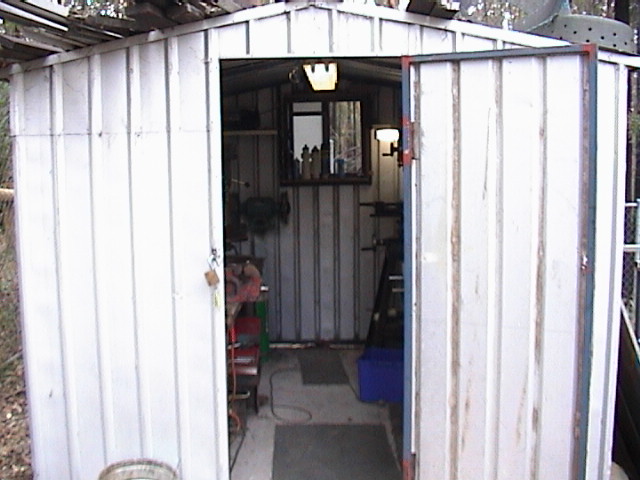
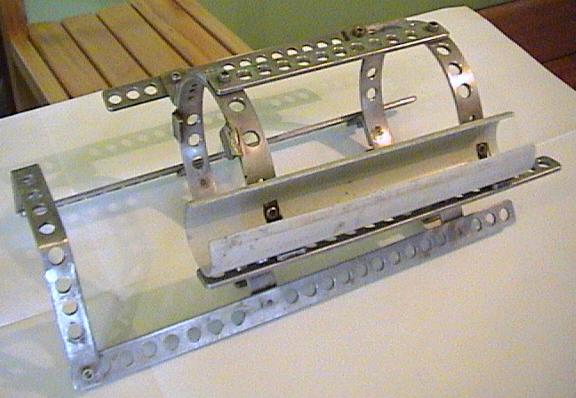
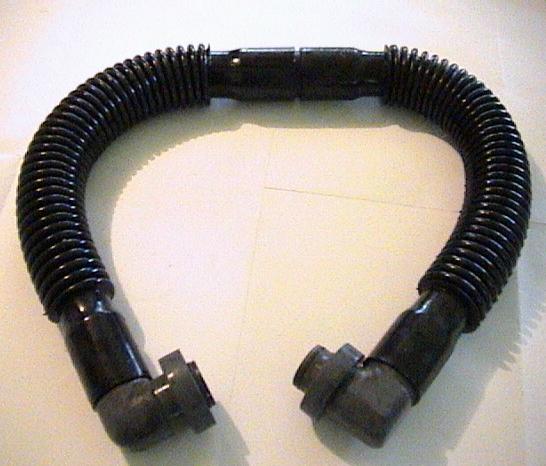
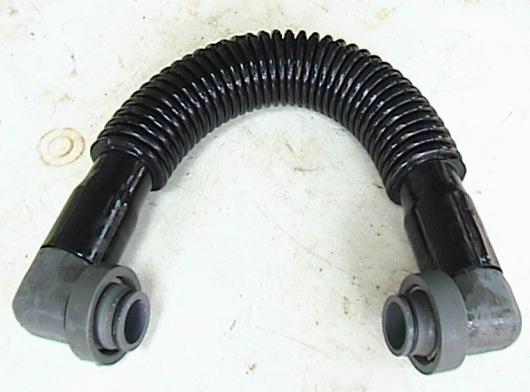
OK, here is a fine building plan for a fully closed circuit rebreather. This page gives you tons of information. Please beware that most homebuilders are highly experienced divers, technicians, specialists in AutoCad, mechanical engineers, and educated rebreather divers. So don't even think buying some PVC glue some piping, and start to built it in an afternoon. On the other hand people need these articles to obtain the know how to finally built there own. So have fun reading this great story. If you just want to read about diving the Meggol click here Later in 2004 Dave managed to further improve his rebreather and build a complete ECCR. Here you find the story! Janwillem |
|||||||
|
|
|||||||
|
|
|
||||||
 |
 |
 |
 |
||||
|
|
|||||||
|
|||||||
|
|
|
||||||
|
|||||||
 |
 |
||||||
|
|||||||
 |
 |
||||||
|
|||||||
 |
 |
||||||
|
|||||||
 |
 |
||||||
|
|||||||
|
|||||||
|
|||||||
|
|
|
|
|
||||
|
|||||||
|
|
|
|
|
||||
|
|
|
|
|
||||
|
|||||||
|
|
|||||||
|
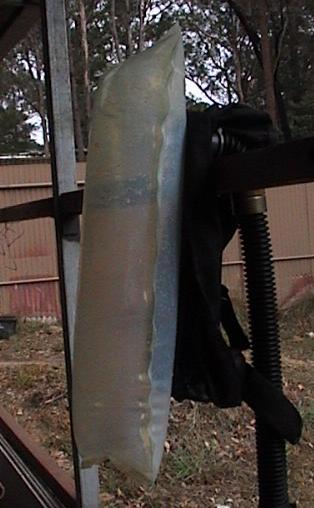
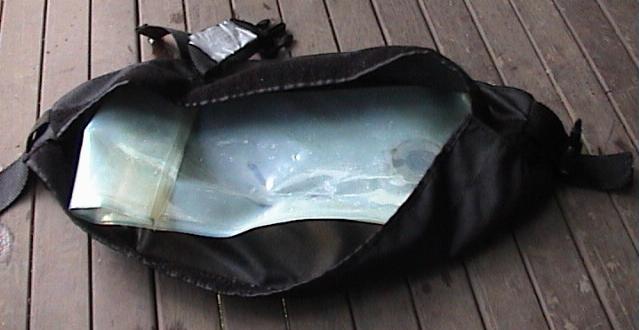
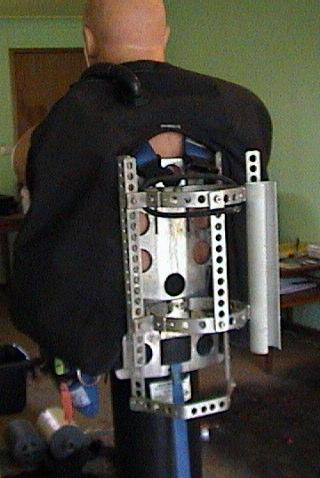
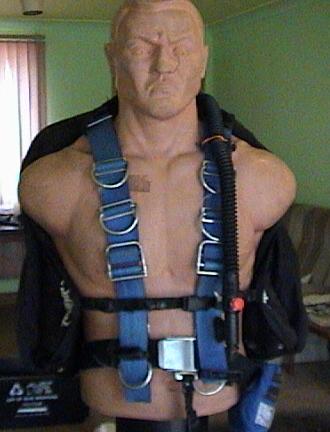
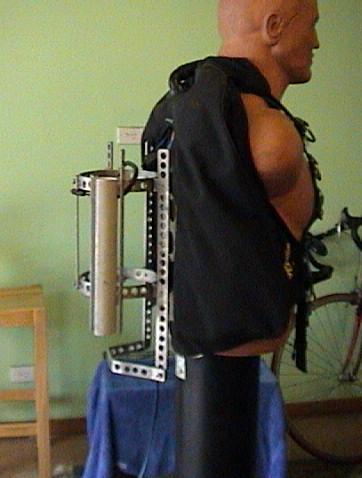
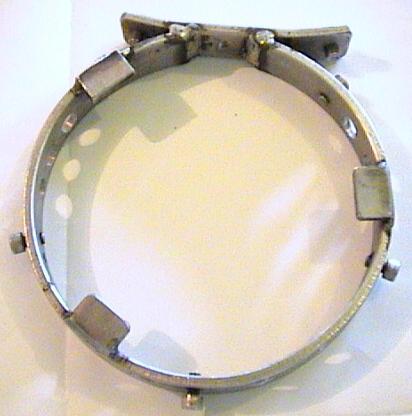
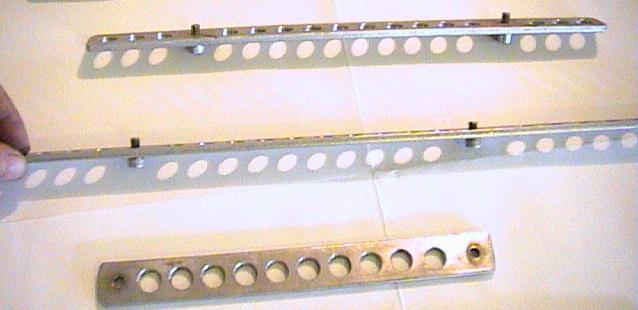
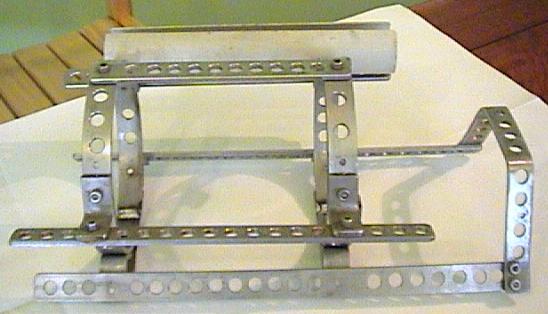
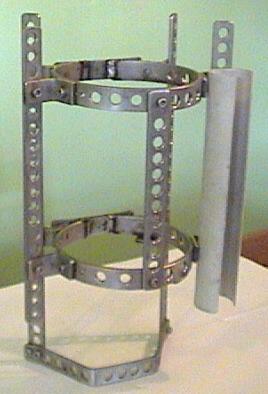
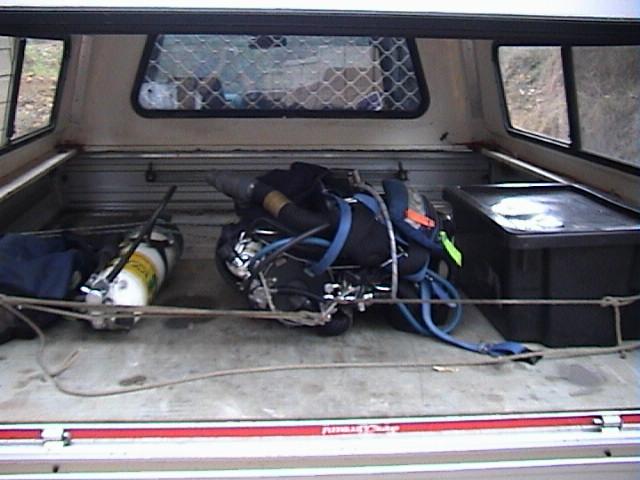
Here are some additional photo's on the rig about the backpack and the webbing. |
|||||||
 |
|
 |
 |
||||
 |
 |
 |
 |
||||
 |
 |
 |
 |
||||
 |
 |
 |
 |
||||
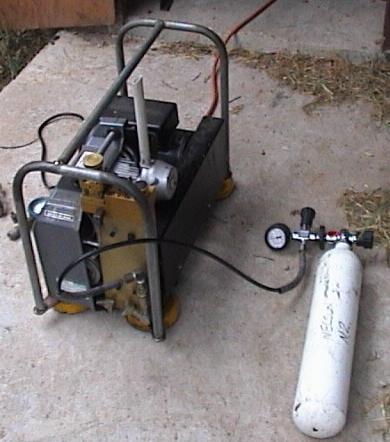
| After the CCR diver Dave built his own oxygen booster. | |||||||
| And that’s about it GOOD LUCK | |||||||
|
Well, that was a nice story from diver Dave from Australia.
Also he was so generous to sent all design drawings available to you! So if
you want to use parts of this design, or you want to built a complete CCR
rebreather, here's the design. If you want to buy electronics there are
several 'ready to use' affordable solutions. If you can't find any, sent me
a line. I hereby post the original AutoCad® Drawings ready for downloading.
If you do not own AutoCad®, don't worry, drop me a line and I will sent you
DXF files instead, and a link to free downloadable software which
functions as a plug in in your browser to look at these files. Februari 2003 Janwillem Bech |
|||||||
Download here the AutoCad files |
|||||||
| And here is a nice dive report on diving the rig. | |||||||
| Diving the Meggol with the Dave-Rite-MK1 | |||||||
Dive report
Wednesday 6.30 AM 5/1/03
It was a typical summers morning for Sydney; the sun was climbing over north head to the east and the day was already worm. Wednesday dives are cruise dives there is normally no more then 4 divers on the boat. As the day unfolded there ended up 7 divers on board 4 CCR divers and 3 OC two of the CCR's being (Dave-Rite mark one) my self and Russ.
The Dumbar a former British minesweeper renamed the Meggol was purpose sunk to form part of a artificial ref it took 2.5 hours to sink length 231 feet and lies in 48 meters of water. After a 45 minute boat ride we were over the wreck and picked in first go, time to gear up and in to the water. After getting my kit on a quick self check and I am heading to the side of the boat with 60% o2 in the breather loop, over the side and on my way to the anchor rope. At the anchor rope I check the ppo2 reading .42 dumped the air from my dry suit and BCD and started heading to the bottom. At this point I should say my rebreather is manual add o2. On the way down my right hand is fairy busy adding diluent air to the dry suit, clearing the ears, at about 38 meters down the wreck starts to come in to sight So on with the brakes (air to the BCD) with a nice soft landing on the bow. Now a quick check of the ppo2 reading 1.2 not bad a short bust of O2 then get the torch going and on my way. What to do, I started to head to the stern yes I need a bit of practice in getting through man holes so I found the way in to the boiler room it’s a square hole just big to fit my shoulders through. Reached back with my right hand and unclipped my bale out tank from my waist belt and move the tank forward with my legs straight the center of gravity moves forward and the air in the suit runs to my feet putting me a vertical position line up the man hole and head first through. Once through I move the tank back, pull my knees to my chest and back to the horizontal with out even a kick. Once in I check ppO2 1.1 better add a bit the meters start climbing back to 1.4 with every breath as I look around and make my way down the side of the boilers I think time is taking its toll on her the wrecks are starting to become dangerous or should I say more dangerous. As I come in to the engine room, right now, to get out there is a roof vent Open over the room it’s a little bit narrow so it’s a careful job to get through again unclip the bottom clip on my bailout tank and keep it in front of my body reach through the vent with my left arm and put my arm pit on the side of the vent opening. With a careful wiggle I start to get through beggar now I am stuck. At times like this my mind goes back to a science fiction move called Dune where young Paul Atrades say to him self “I must not fear for fear is the mind killer” who ever wrote that line is dammed right. After a bit of squirming about I get through check ppO2 1.2 add a bit, check the time 18 minutes no problems I just pop down to the stern and back to the anchor rope. On the way back to the anchor I sight a flash of yellow one of the inspiration boys that’s good they haven’t pulled the anchor yet bag accents are such a pain. After a 20-minute deco I am back on the boat having a cup of sups and talking to the guys. I am looking forward to my next overseas trip to dive the Prince of Wales and the Repulse. The Dave-Rite is a very user friendly unit to dive great balance and very forgiving I have worked the unit to the limits of my breathing at 20 meters depth with out any sings of co2 hit I am self taught on the unit and simply amazed how well it works. Happy diving Dave
|
|||||||
|
|||||||


 After the gear was
sorted and the boat loaded we were under way cruising out through Sydney
heads. Diving conditions were near perfect near flat sea with a slight
southeast wind. The team normally decides on the wreck to dive on the way
but to day a young man was on course his first twin tank dive so the wreck
was to the Meggol.
After the gear was
sorted and the boat loaded we were under way cruising out through Sydney
heads. Diving conditions were near perfect near flat sea with a slight
southeast wind. The team normally decides on the wreck to dive on the way
but to day a young man was on course his first twin tank dive so the wreck
was to the Meggol.