 |
|||||
|
|
|||||
|
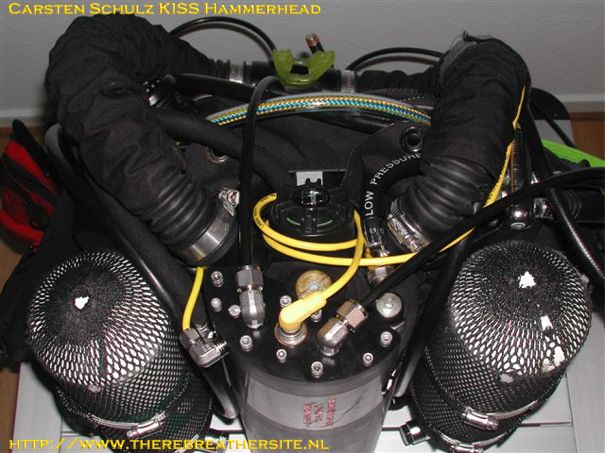
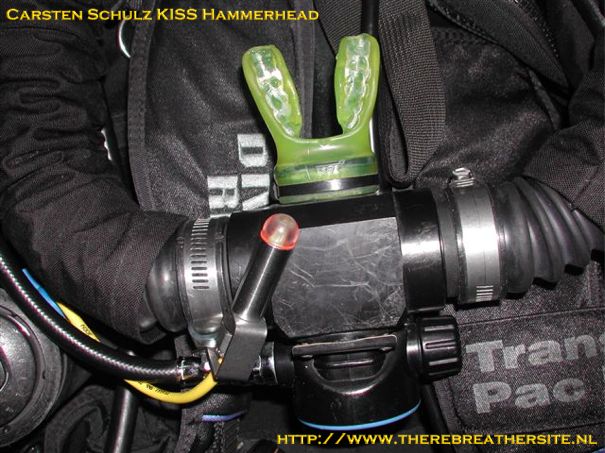
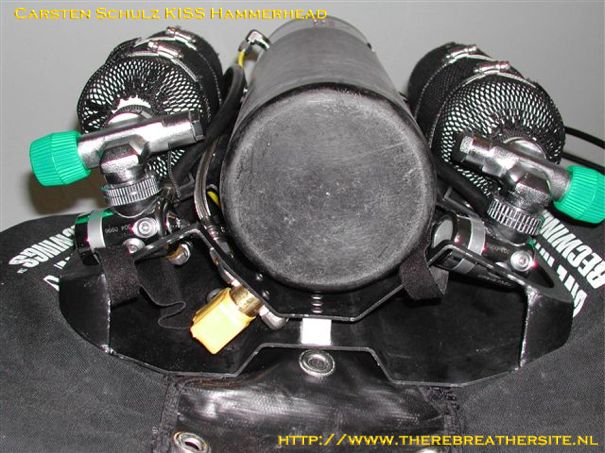
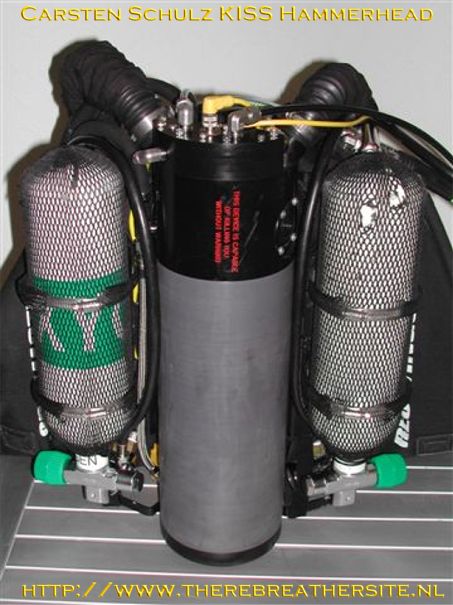
Carsten Schulz used a Jetsam KISS rebreather and the Juergenson Hammerhead electronics to build a complete electronic controlled rebreather. Here you find the pictures how he managed this. |
 |
||||
 |
|||||
 |
|||||
 |
|||||
 |
|||||
 |
|||||
 |
|||||
 |
|||||
|
7 November 2004 |
|||||
|
The Hammerhead KISS story
In autumn 2003 Kevin Juergenson started to think about the HH electronics for the Jetsam KISS rebreather. In the KISS rebreather group Kevin asked if there was any interest to get the HH electronics and within a few days ten users answered with “YES!”. So Kevin started to build the prototype of the first HH KISS series. In cooperation with Gordon Smith from Jetsam who builds the head for the HH, Kevin made up his mind how to get the best results. In many discussions on the web we talked about different connectors, e.g. 90°-elbow or straight, about the length of wires, the length of hoses and of course about the best place for the solenoid. Meanwhile the first test dives were made. Finally the result matched most peoples opinion and in autumn 2004 the HH electronics were delivered by Kevin.
In a big box the HH, including the head, both hand-sets and the DIVA, my HH finally reached my home. With a few parts from Swagelok, hoses and connectors, I could start to install the HH.
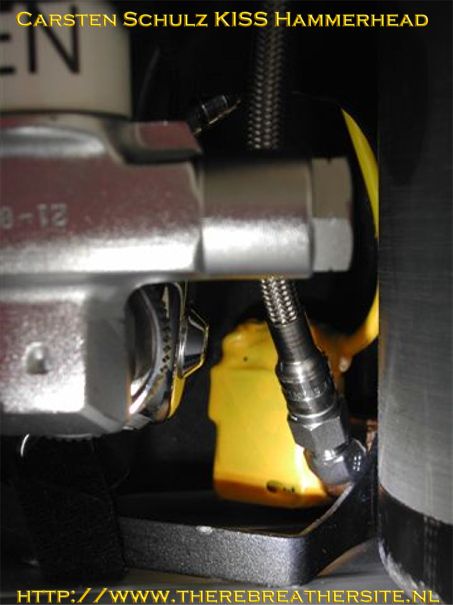
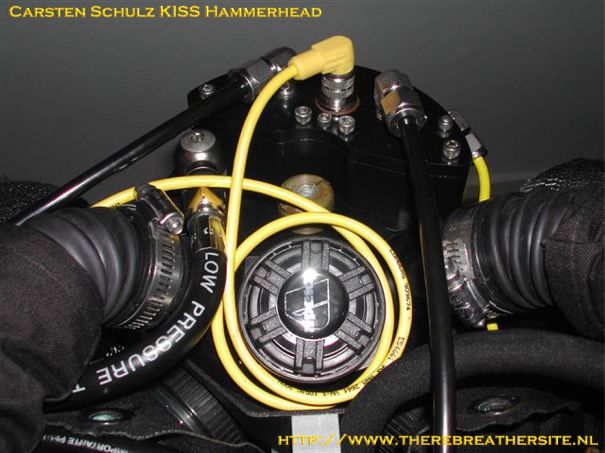
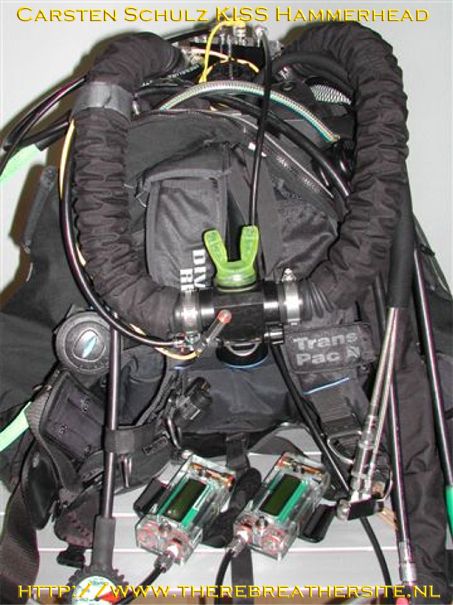
The biggest problem was the installation of the oxygen sensors to the HH. The connection from the sensors to the head is made by two wires with small banana plugs. The banana plugs and the sensors interfere and the head can not be placed correctly on the KISS. The banana plugs break easily when bended so I took another way to make it fit. I cut off the label of the oxygen sensors and took off the upper part and finally there was enough place for the banana plugs and the sensors. The head could now be installed as it should be. As there are many different possible positions for the solenoid, I choose to install the solenoid inside the counterlung-housing at the bottom. The solenoid is protected very well and the counterlung is not affected by the solenoid. The wire to the head is long enough and runs inside the counterlung-housing. The solenoid is held by two small screws. The solenoid is then connected to the oxygen inlet, which was changed from the 90°-elbow into a Swagelok-T, with a Swagelok hose. The oxygen inlet to the solenoid is a short Swagelok hose which comes from the first stage. The first stage feeds the KISS valve as well as the solenoid. The KISS valve can be shut off from the oxygen supply by a Swagelok shut-off valve. This meets my actual needs. In future I will run the KISS with two oxygen tanks. The DIVA runs along the breathing hose and is attached to the DSV by simple means. It can be turned in either direction during the dive.
After testing the waterproof installation I learned how to work with the hand-sets and the integrated trimix dive computer. I set up the settings of the dive computer and finally did my first E-KISS dive on my sofa. Everything worked very well, all alarms I could activate on the dry were running and I felt ready for a dive a week later.
My first test dive brought me to the Vinkeveense Plassen near Amsterdam and a friend of mine managed to dive with me. All things were running perfect, I did many tests underwater and I’m now totally happy with my new E-KISS and I look forward to make many nice dives with the HH electronics and my KISS!
|
|||||
| Carsten; thanks for your contribution! | |||||
|
|||||